1
/
of
6
Hobby Stuff
XL4015 5A 75W DC-DC Step Down Buck Converter with LED voltage display
XL4015 5A 75W DC-DC Step Down Buck Converter with LED voltage display
Regular price
£4.95 GBP
Regular price
Sale price
£4.95 GBP
Unit price
/
per
Couldn't load pickup availability
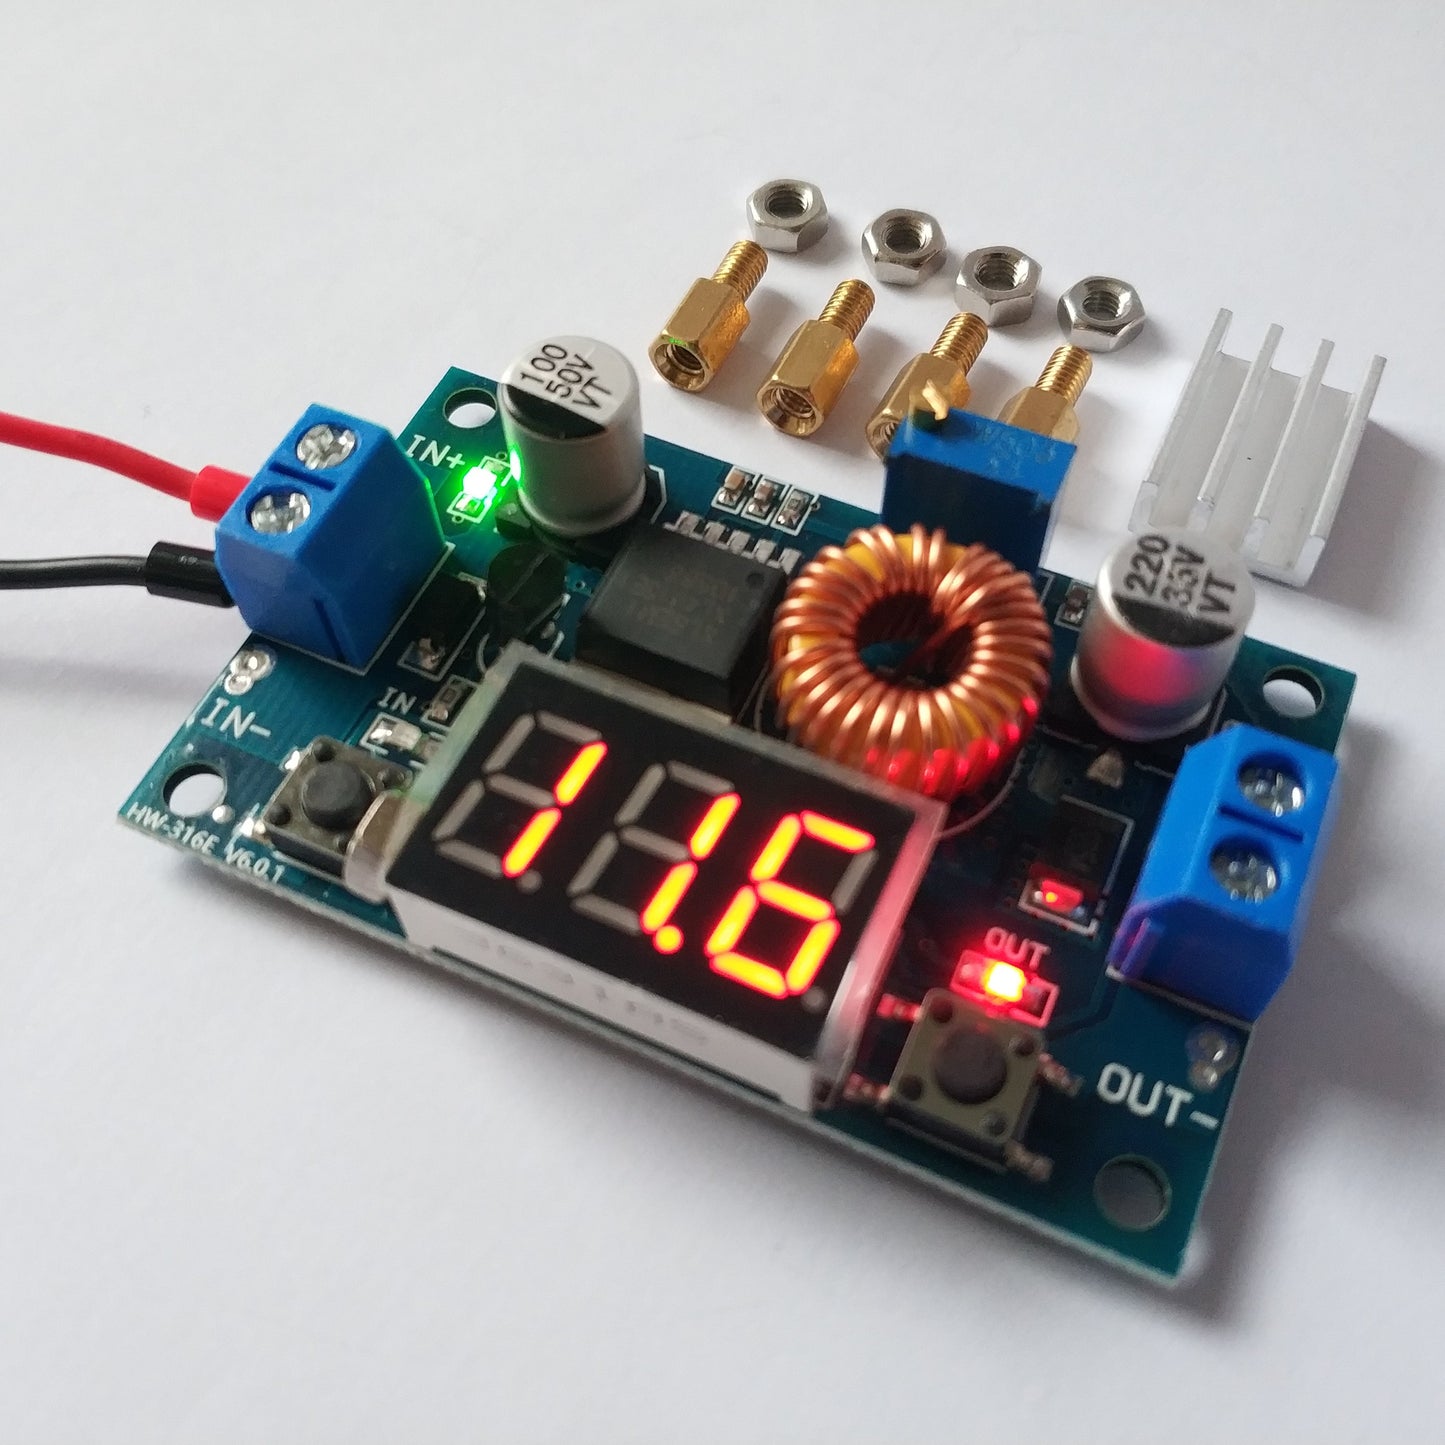
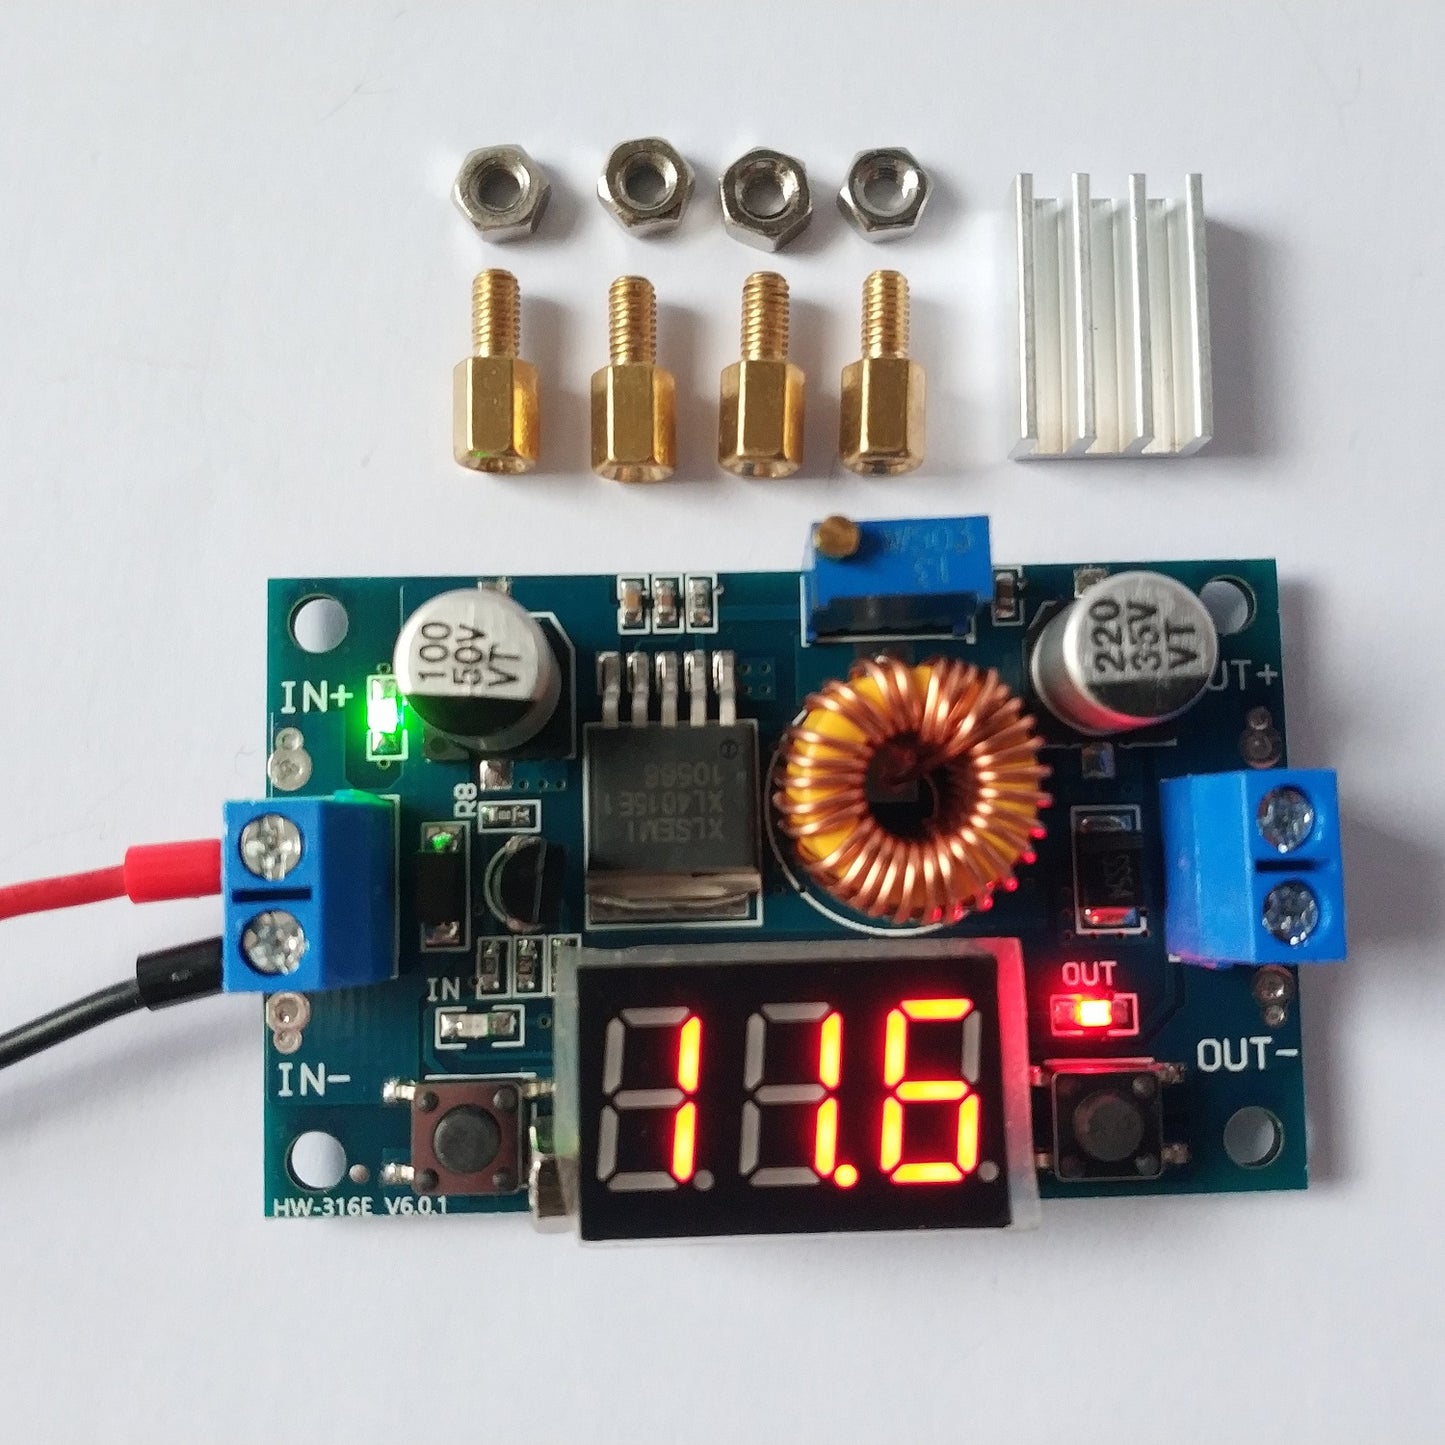
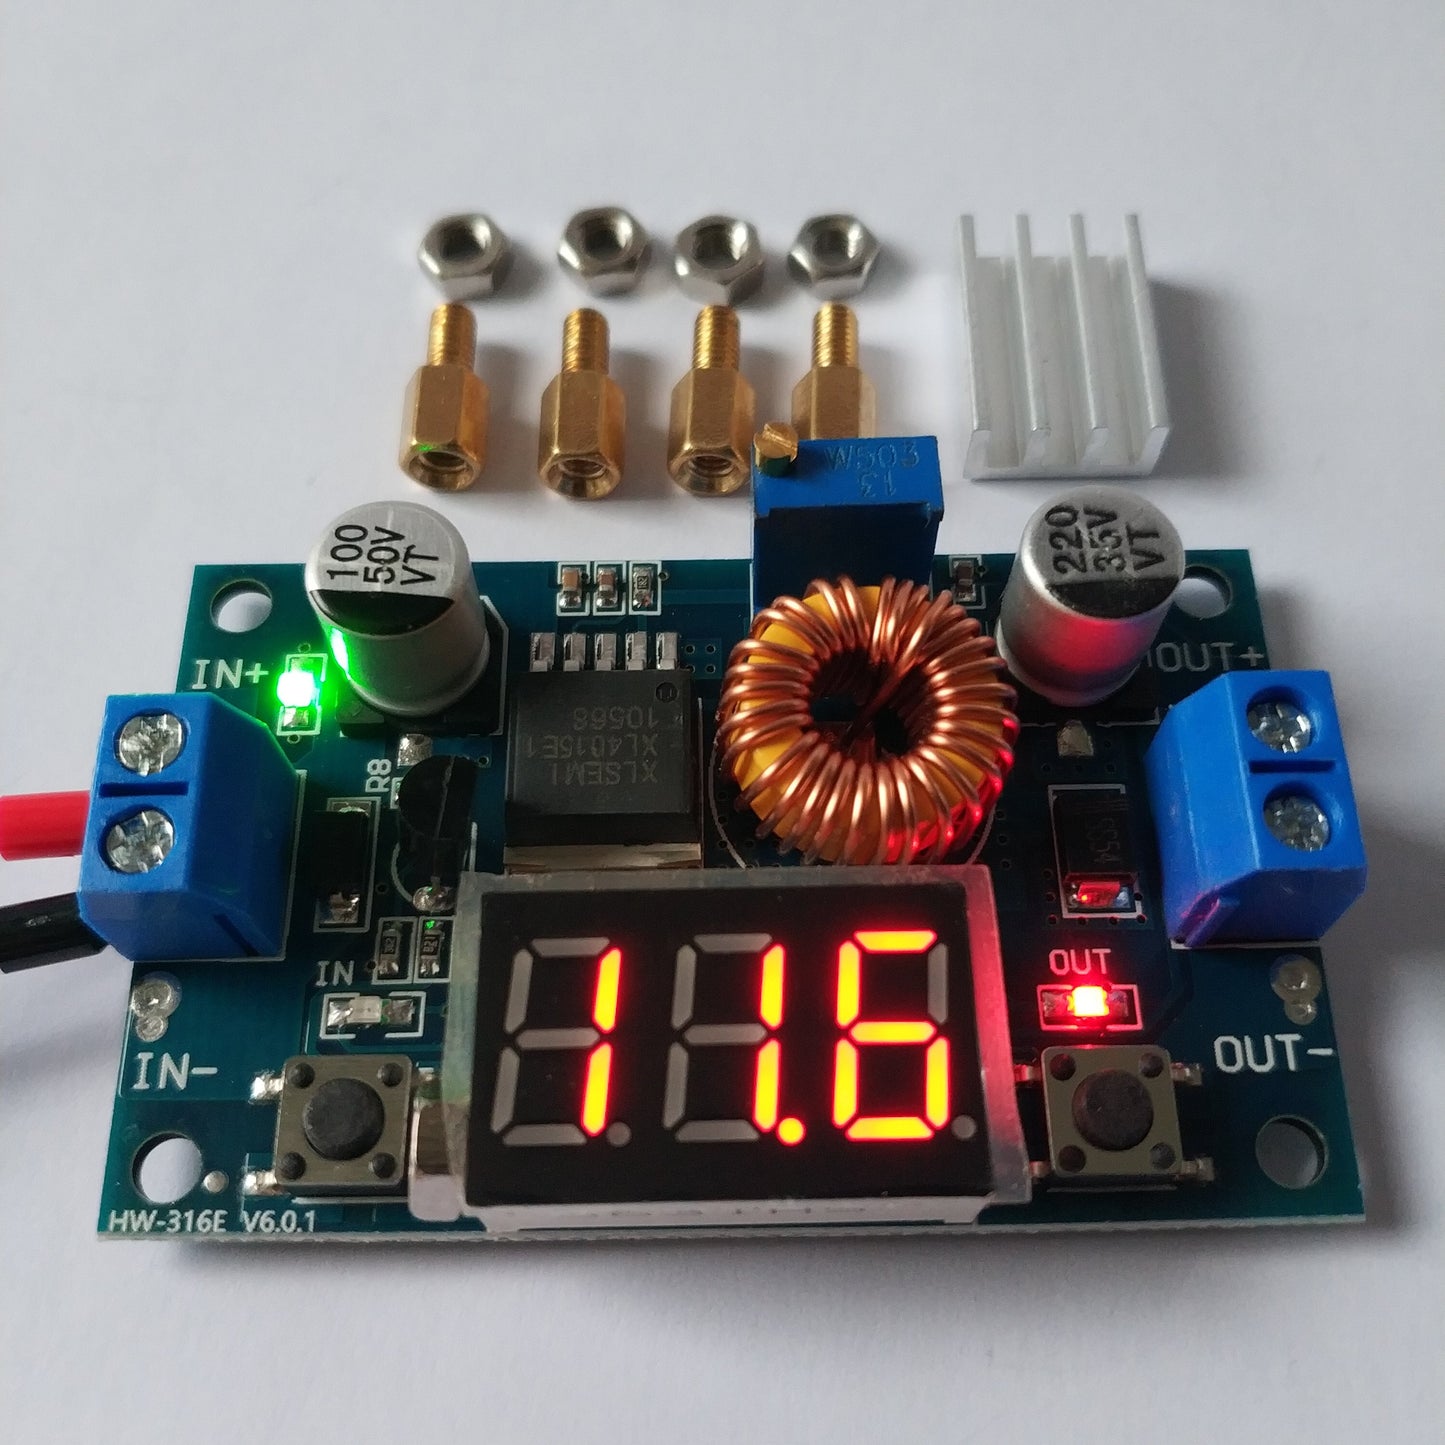
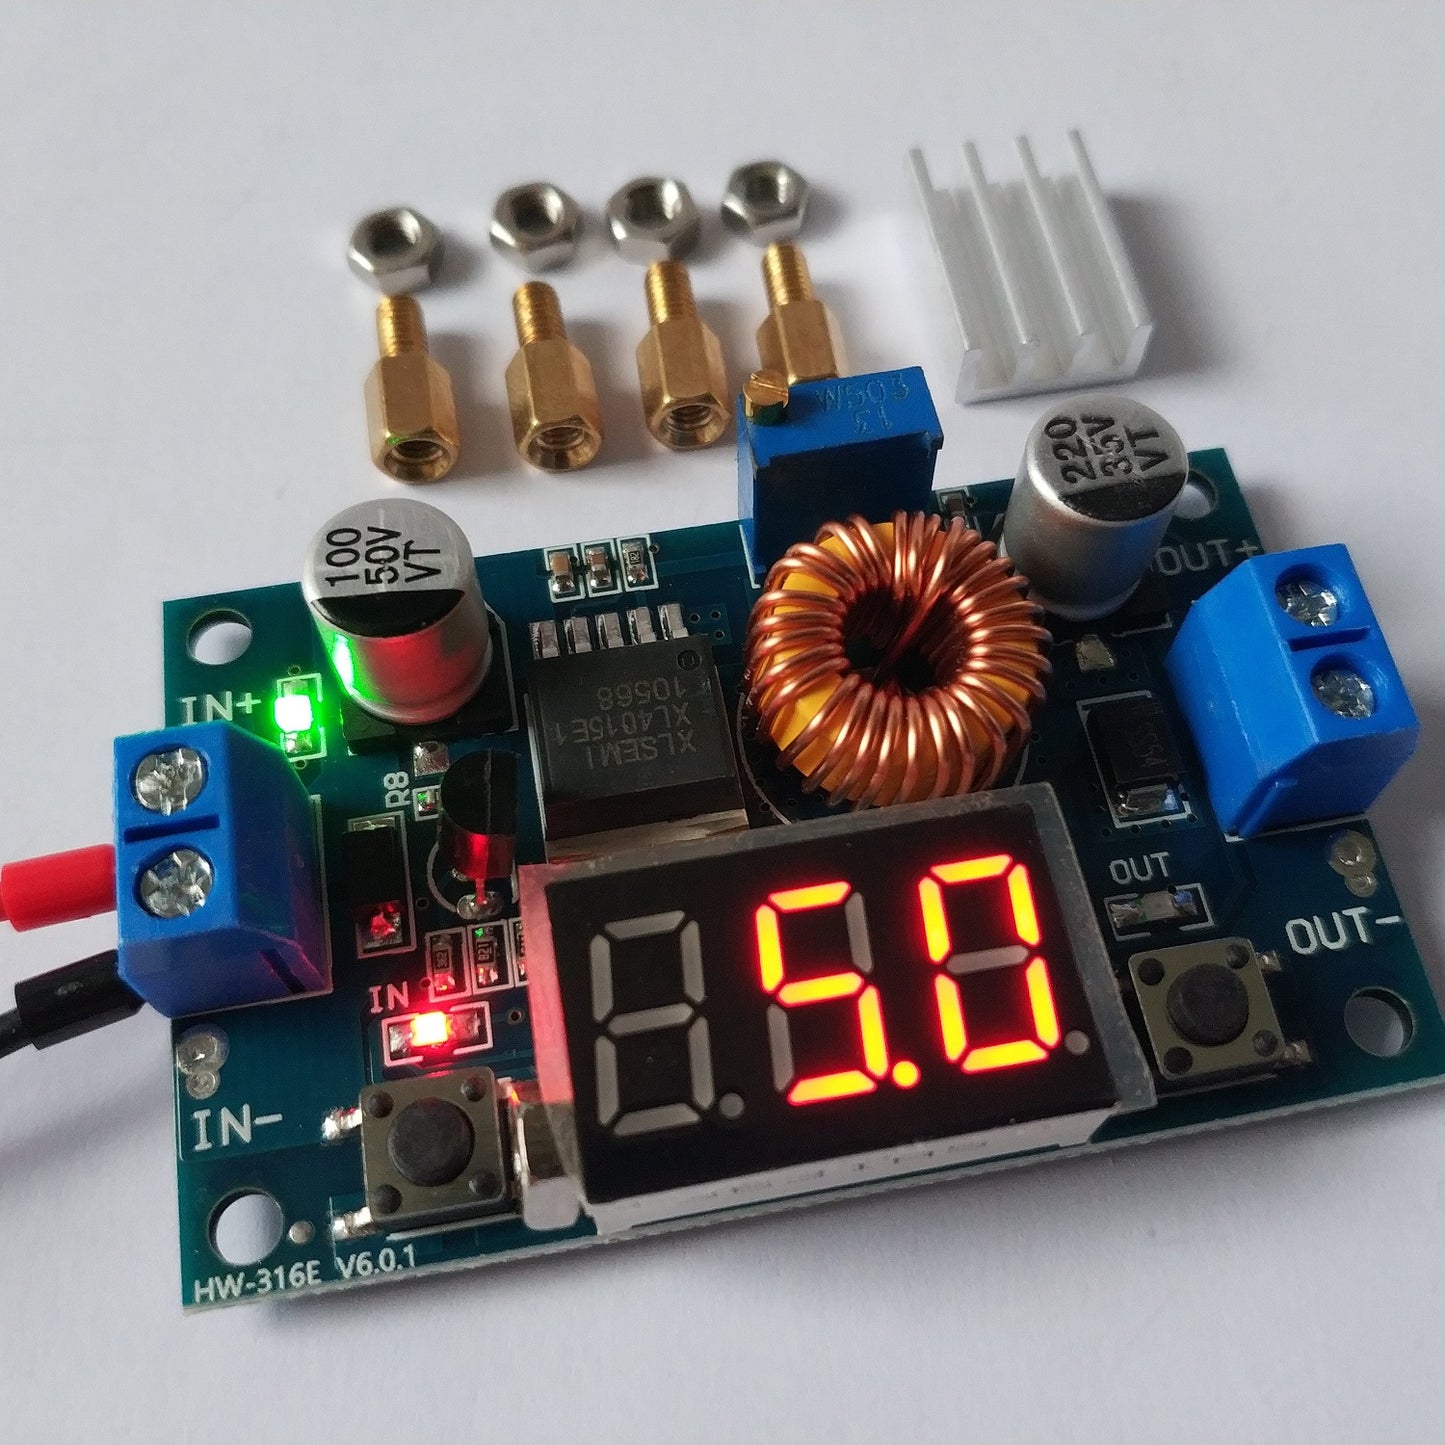
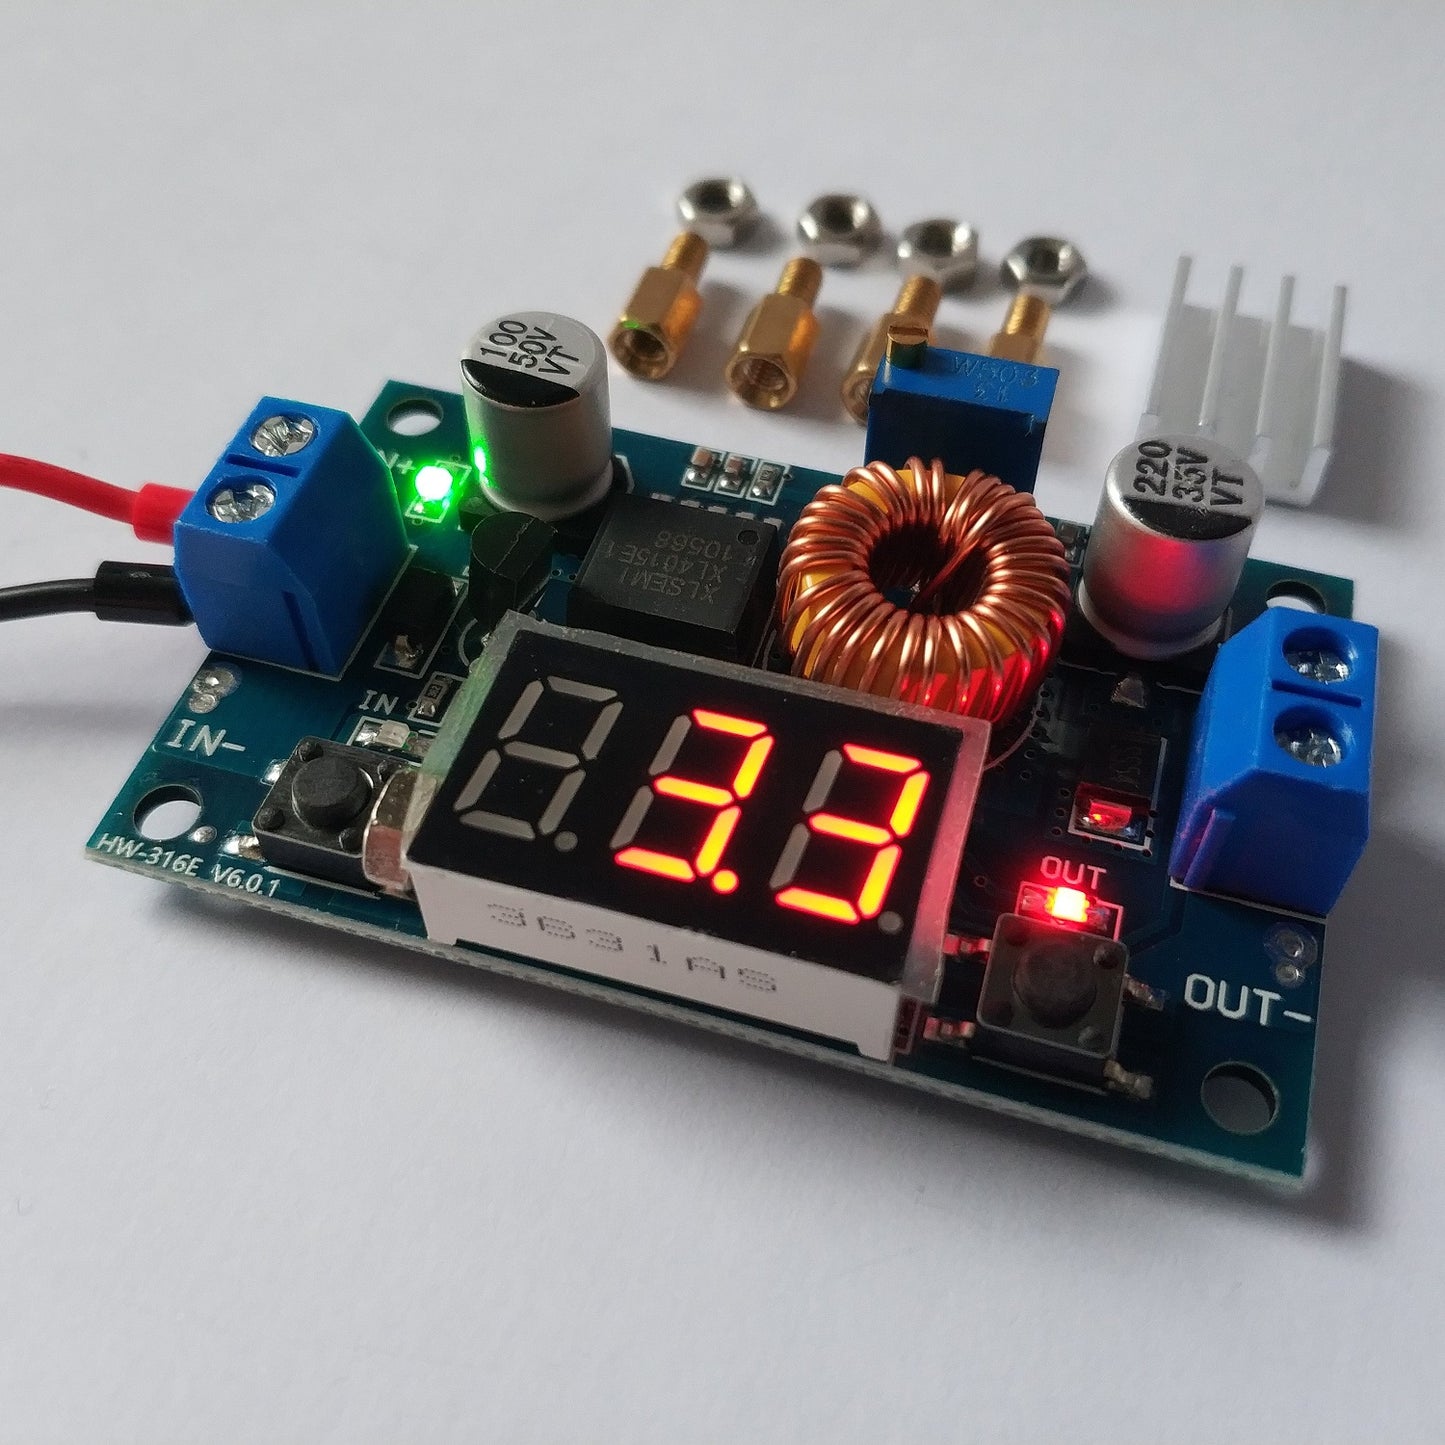
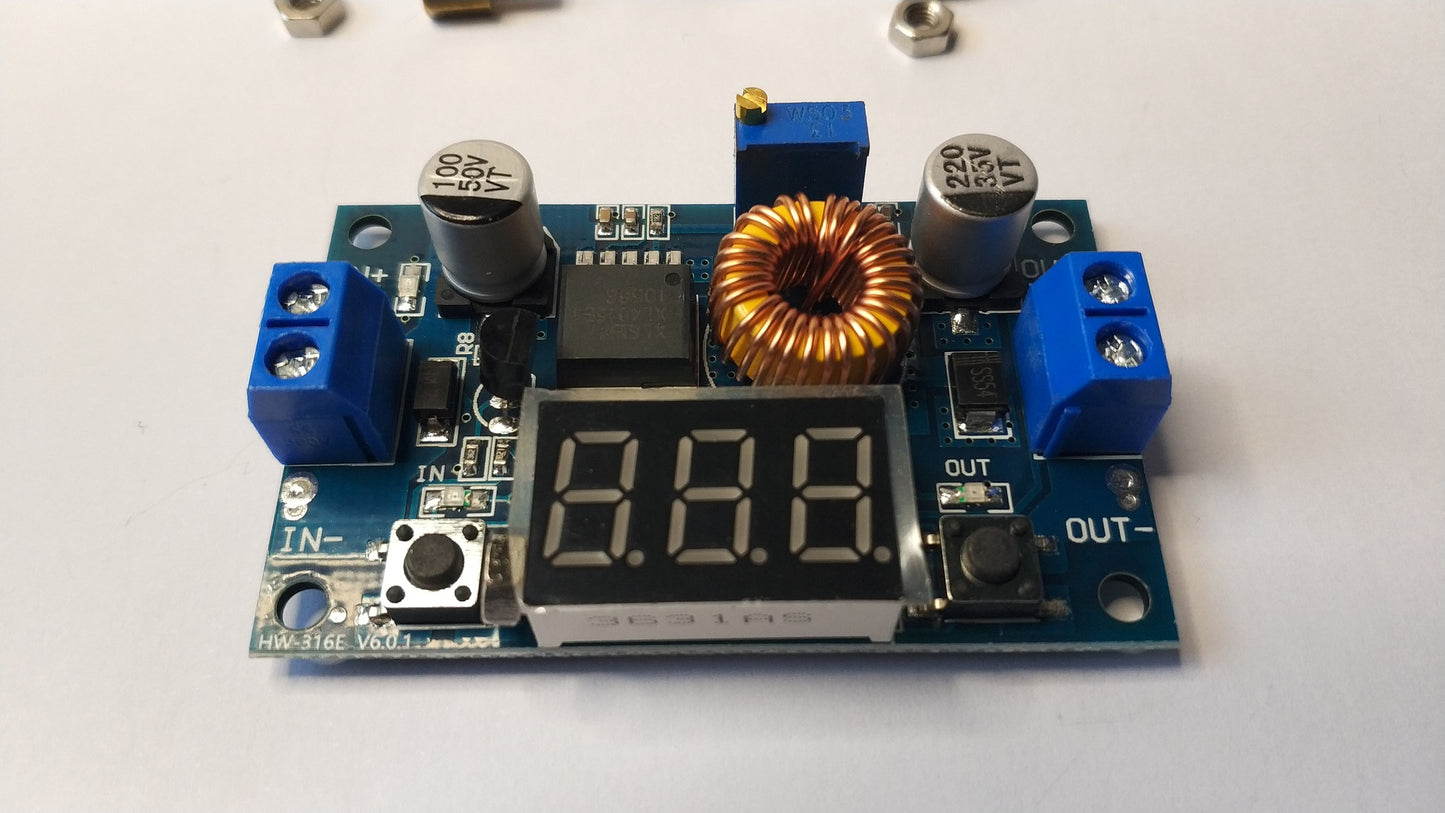
This listing is for a 5A DC-DC adjustable step-down module with a built-in LED voltmeter display.
It comes with 4 brass standoffs, matching nuts, and a heatsink with peel-off tape.
Turn the bronze screw to change output voltage. Clockwise increases, anticlockwise decreases. On first use, you may have to turn it anticlockwise a number of times until the output starts changing.
Features include:
- LED power indicator.
- Button to switch the display to show input or output voltage on the LED display.
- Button to turn the display off.
- LED to indicate that the display is showing either the input or output voltage.
- Input voltage: 4 to 38 VDC (do not exceed 38 volts).
- Output voltage: 1.25 to 36 VDC (adjustable).
- Output current: 0-5A
- Output power: 75W
- Efficiency: Up to 96%
- A calibration mechanism to ensure the display is perfectly accurate (see below for steps).
Note that the input voltage must be higher than the output voltage. This is a step-down converter.
Calibration routine - Output voltage
Step 1: Ensure the "OUT" LED is lit, showing the input voltage.
Step 2: Press the rightmost button for more than 2 seconds, then release it.
Step 3: The voltmeter "OUT" LED flashes.
Step 4: Tap the leftmost or rightmost button until the LED display is matching your calibrated readout (for example, your multi-meter).
Step 5: Hold the rightmost button to lock in the completed calibration.
Calibration routine - Input voltage
Step 1: Ensure the "IN" LED is lit, showing the input voltage.
Step 2: Press the rightmost button for more than 2 seconds, then release it.
Step 3: The voltmeter "IN" LED flashes.
Step 4: Tap the leftmost or rightmost button until the LED display is matching your calibrated readout (for example, your desktop DC power source or multi-meter).
Step 5: Hold the rightmost button to lock in the completed calibration.
Share
